Connectors are configured under Settings → Connectors in the SenseLab dashboard.
What you need
| Connector | Required for |
|---|---|
| GitHub or GitLab | Local and PR reviews |
| SenseLab GitHub App (GitHub Marketplace) | PR reviews |
Step 1 — Add a VCS connector
Navigate to Settings → Connectors in the dashboard. Under the VCS section, select GitHub or GitLab.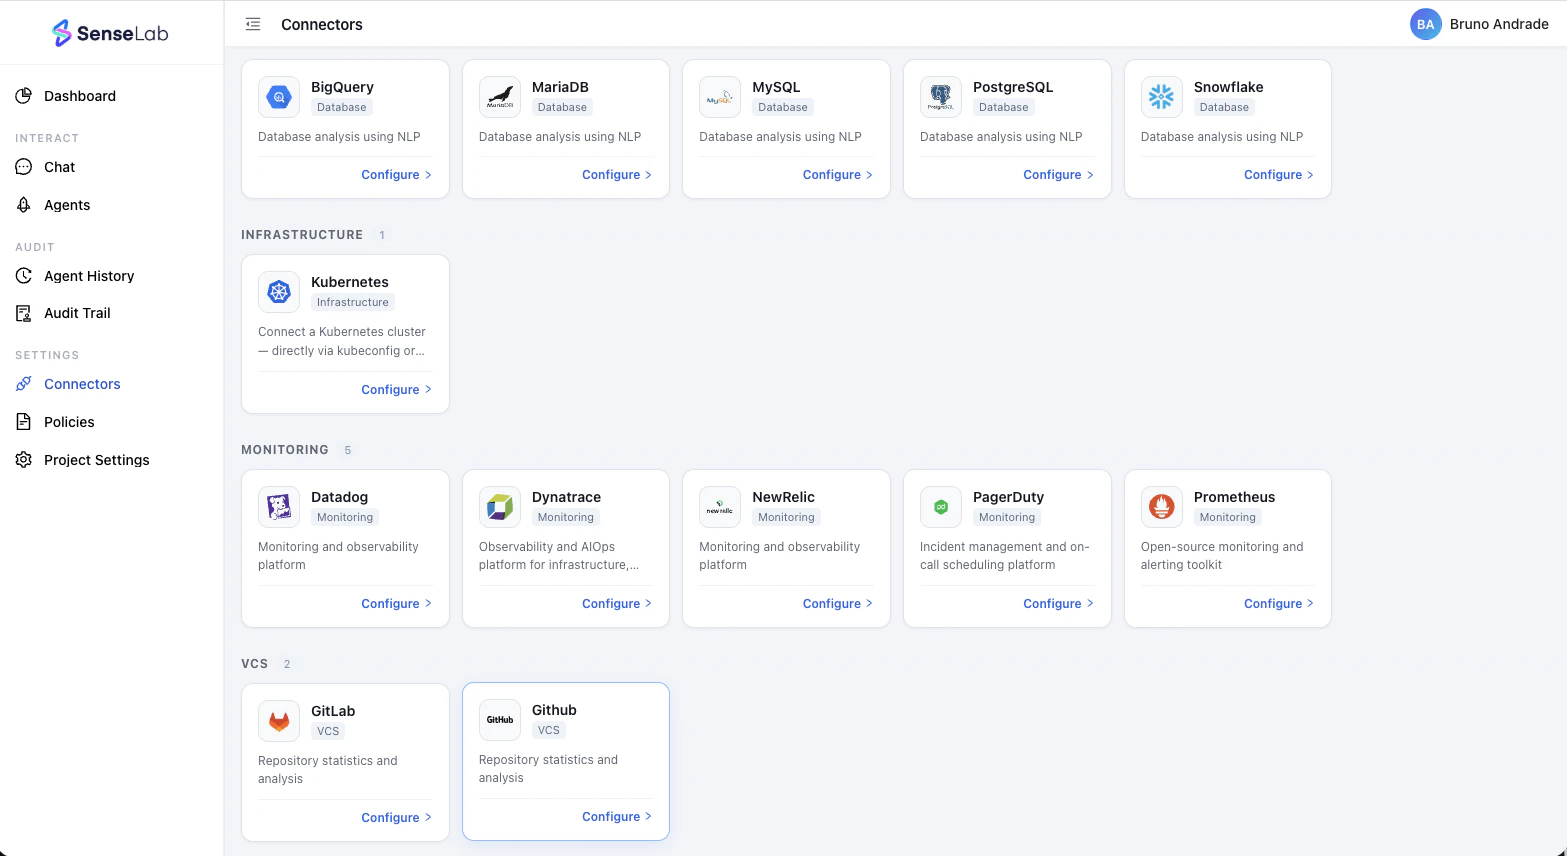
- A name for this connection (e.g.
git-dev-myorg) - An access token or OAuth credentials with repository access
- GitHub
- GitLab
Minimum required token scopes:
repo— read repository accessread:org— read organization membershipread:user— read user profile
Step 2 — Install the SenseLab GitHub App (PR reviews only)
This step is only required if you want your Review agent to perform PR reviews. If you only need local code reviews, skip this step and proceed to creating your agent.
- Go to the GitHub Marketplace and search for SenseLab
- Click Install and select the GitHub organization or account where your repositories live
- Choose which repositories to grant access to — you can scope it to specific repos or grant access to all repositories in the org
- Complete the installation — GitHub will redirect you back to SenseLab
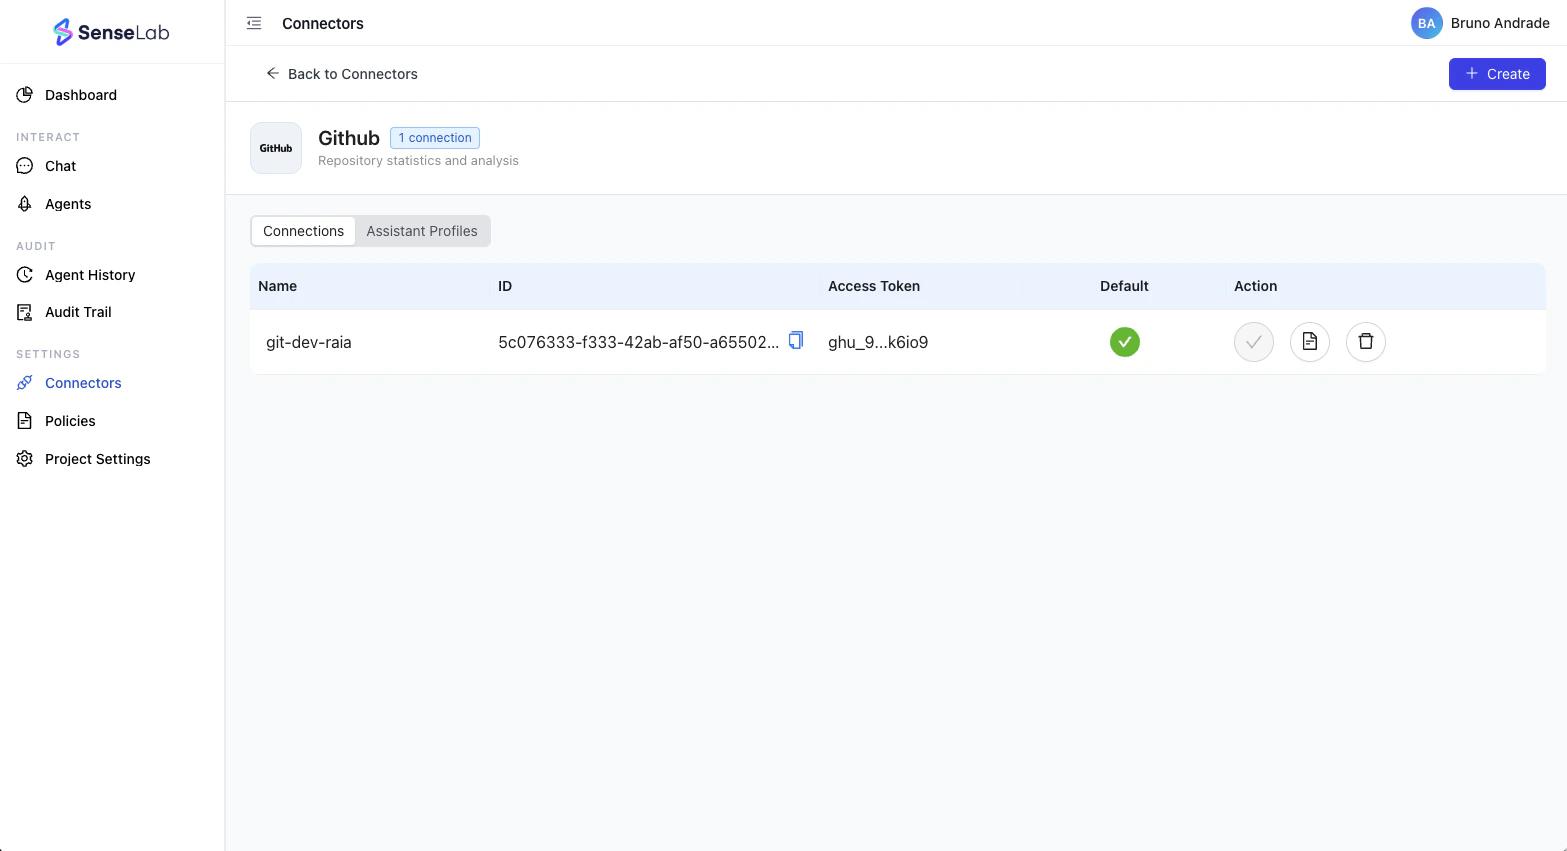
Verify your connection
After adding a connector, confirm it’s working:- Go to Settings → Connectors and open the connector you just configured
- The connection should show a green checkmark indicating it’s active
- You can also check Agent History after creating your first Review agent to confirm it successfully reached your repositories
Next step
With your connector set up and the GitHub App installed, you’re ready to create your first Review agent.Create a Review agent
Configure your agent, assign repositories, and set the types of reviews you want it to perform.