Overview
SenseLab is set up in stages. Each step unlocks more visibility — start with sign up and lineage, then layer in Review and Release as your team grows into them.Step 1 — Sign up
Create your SenseLab account via the CLI or directly through the dashboard.- Via CLI (recommended)
- Via Dashboard
The CLI is the fastest path to sign up and get lineage data flowing as a first step. Install the CLIInstall it, sign up, and enable tracking in one flow.Step 1 — Install the CLICreate your accountThis opens the SenseLab web UI in your browser. Sign up with GitHub or Google — takes under a minute. Once complete, your CLI is automatically authenticated — no extra steps needed.
Step 2 — Enable AI Lineage
Navigate to the directory where your code lives (cloned from git) and run:AI Lineage is free forever. No connectors or agents required. See the AI Lineage page for a full breakdown of what’s tracked.
Step 3 — Connect your systems
To unlock Review and Release agents, you need to connect SenseLab to your source systems. Go to Settings → Connectors in the dashboard.GitHub
Required for Review agents. Connects SenseLab to your repositories so it can analyze pull requests, track AI contribution, and generate AIBOM at review time.
AWS
Required for Release agents. Connects SenseLab to your AWS environment to track deployments, correlate releases to infrastructure events, and monitor runtime impact.
Google Cloud
Required for Release agents. Connects SenseLab to GCP to track deployments and trace production incidents back to the AI-generated code that caused them.
Additional Connectors
GitLab, Jira, Slack, Kubernetes, Datadog, and more are on the connectors page. You can also join the Discord to request additional integrations.
- Go to Settings → Connectors in the dashboard
- Select the system you want to connect
- Follow the OAuth or API key flow to authorize access
- SenseLab confirms the connection
Step 4 — Create Review agents
Review agents require the Review plan ($29/user/month) and a GitHub connector configured in Step 3.
Review Agent
Requires: GitHub connector, Review plan
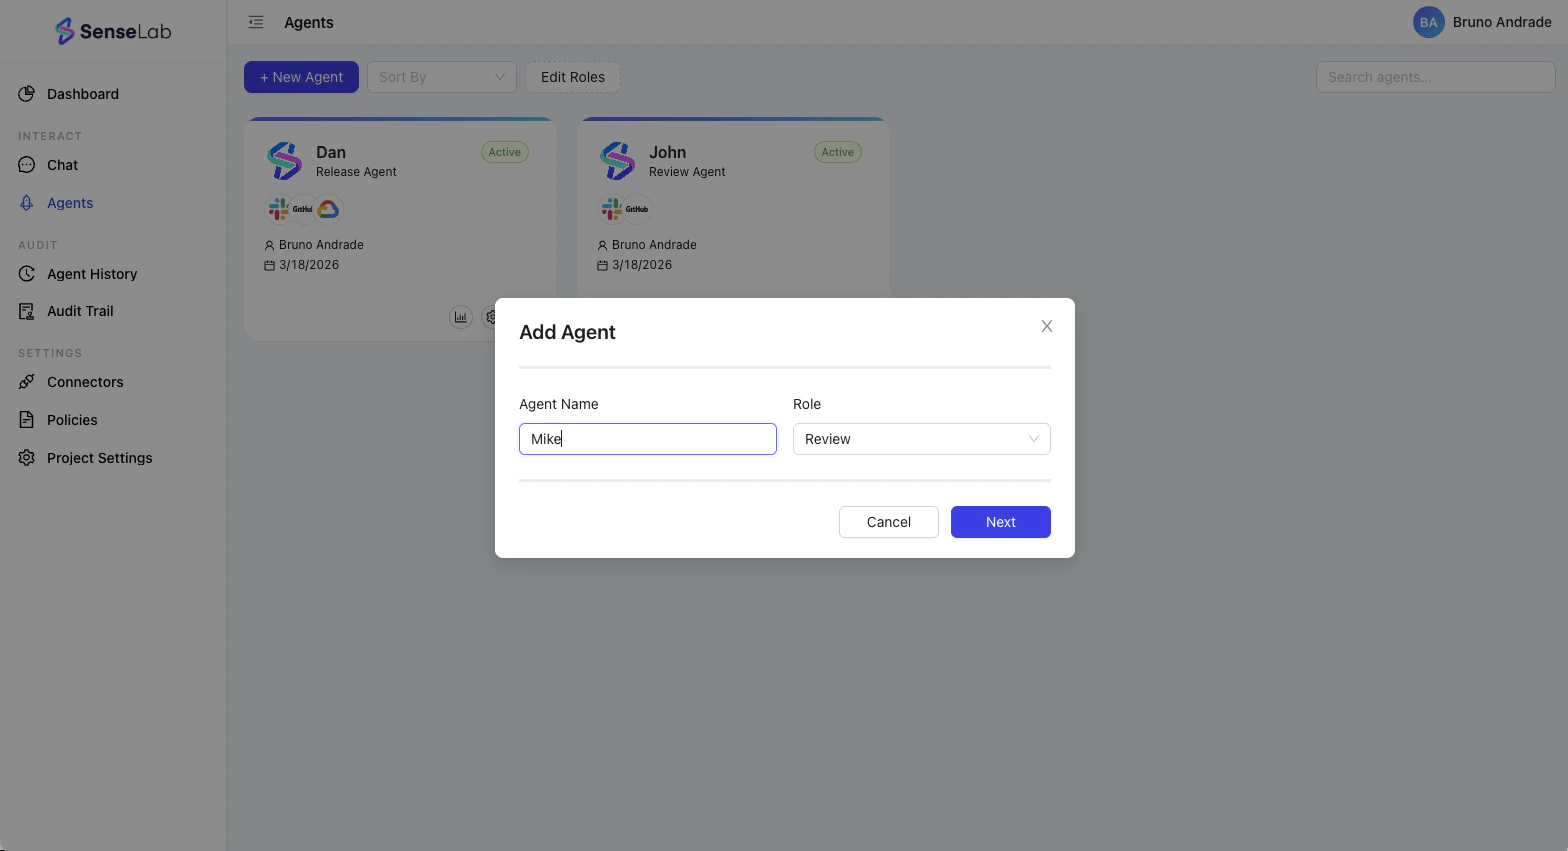
- Go to Agents → New Agent in the dashboard
- Select Review as the agent type
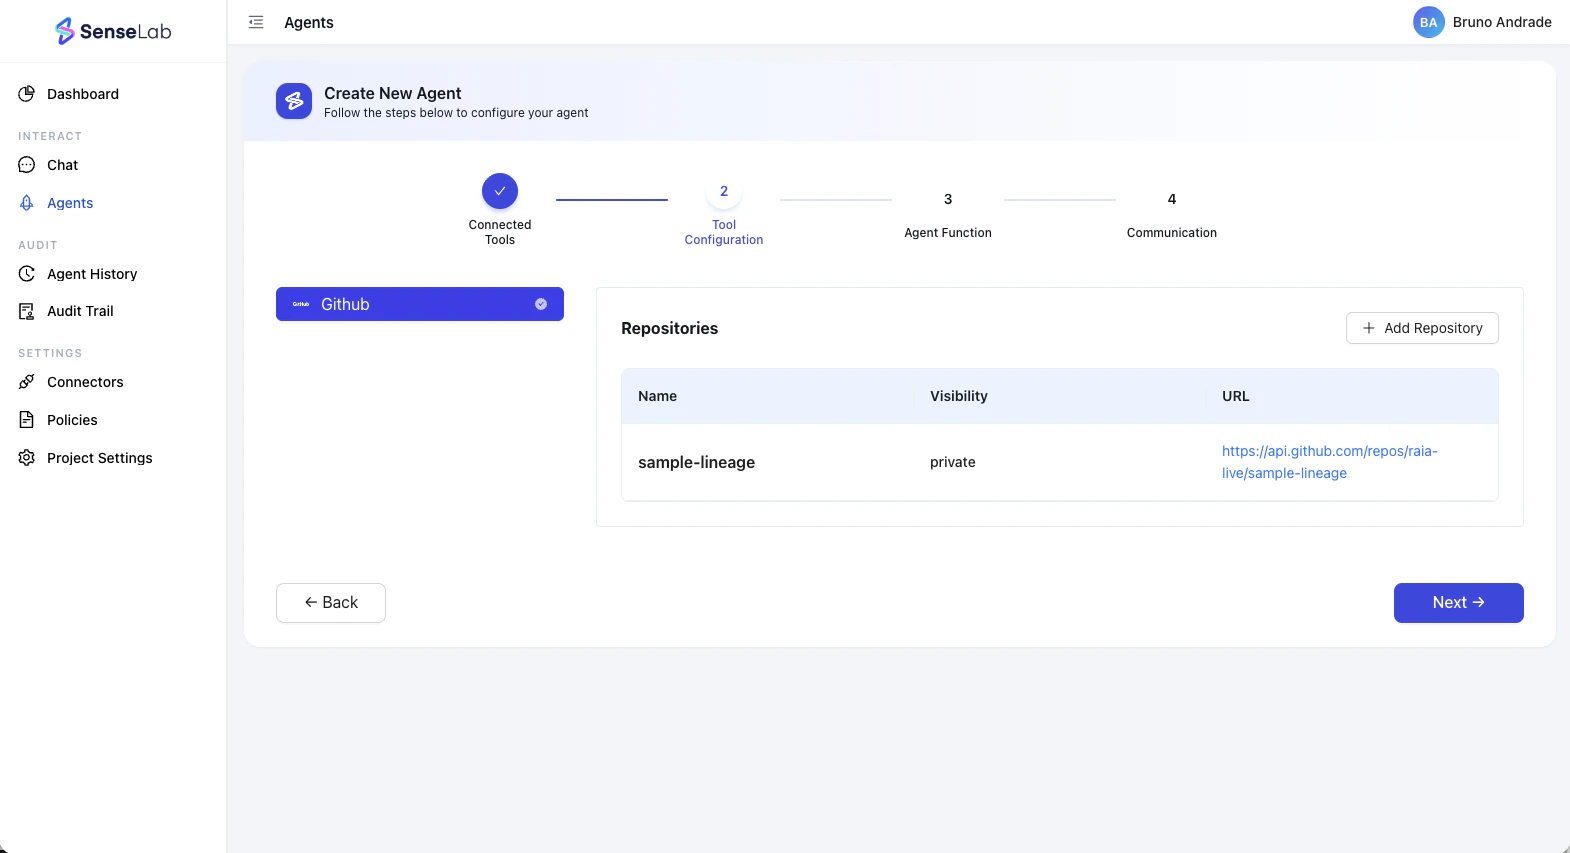
- Choose the tool and repositories the agent should watch.
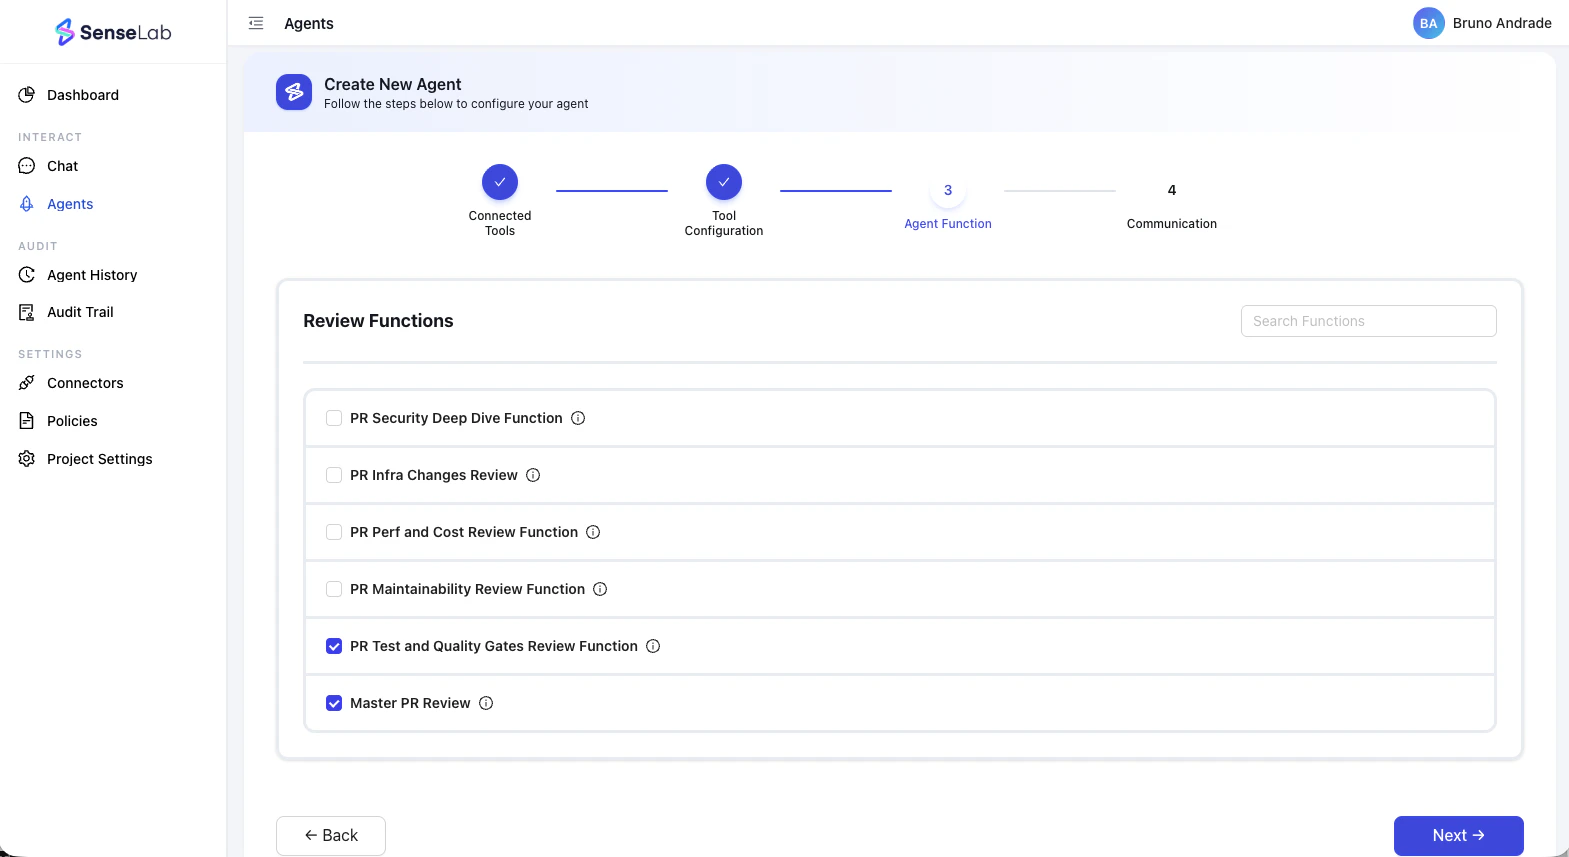
- Set policies — which type of reviews you want the agent to perform, notification rules, and more.
- Click Create Agent
- Head to the Github Marketplace, install the SenseLab app, and connect it to the same repo you assigned to the Review agent you just created. The agent runs automatically on every new PR from this point on
- Complete code review
- Which lines were written by AI vs. the developer
- Risk score: blast radius + AI contribution rate + incident history
- Every package and dependency the AI silently added
- AIBOM generated at review time — before merge, not after an incident
- Full AI provenance: model, session, developer, timestamp
Learn more about Review
See the full breakdown of what’s included in the Review plan.
Step 5 — Create Release agents
Release Agent
Monitors your deployments end-to-end — from build artifact to runtime. Generates SBOMs and AIBOMs at every release, tracks deployment health, and traces production incidents back to their source.
Release agents require the Release plan ($149/month), at least one cloud connector (AWS or GCP) configured in Step 3, and a GitHub connector.
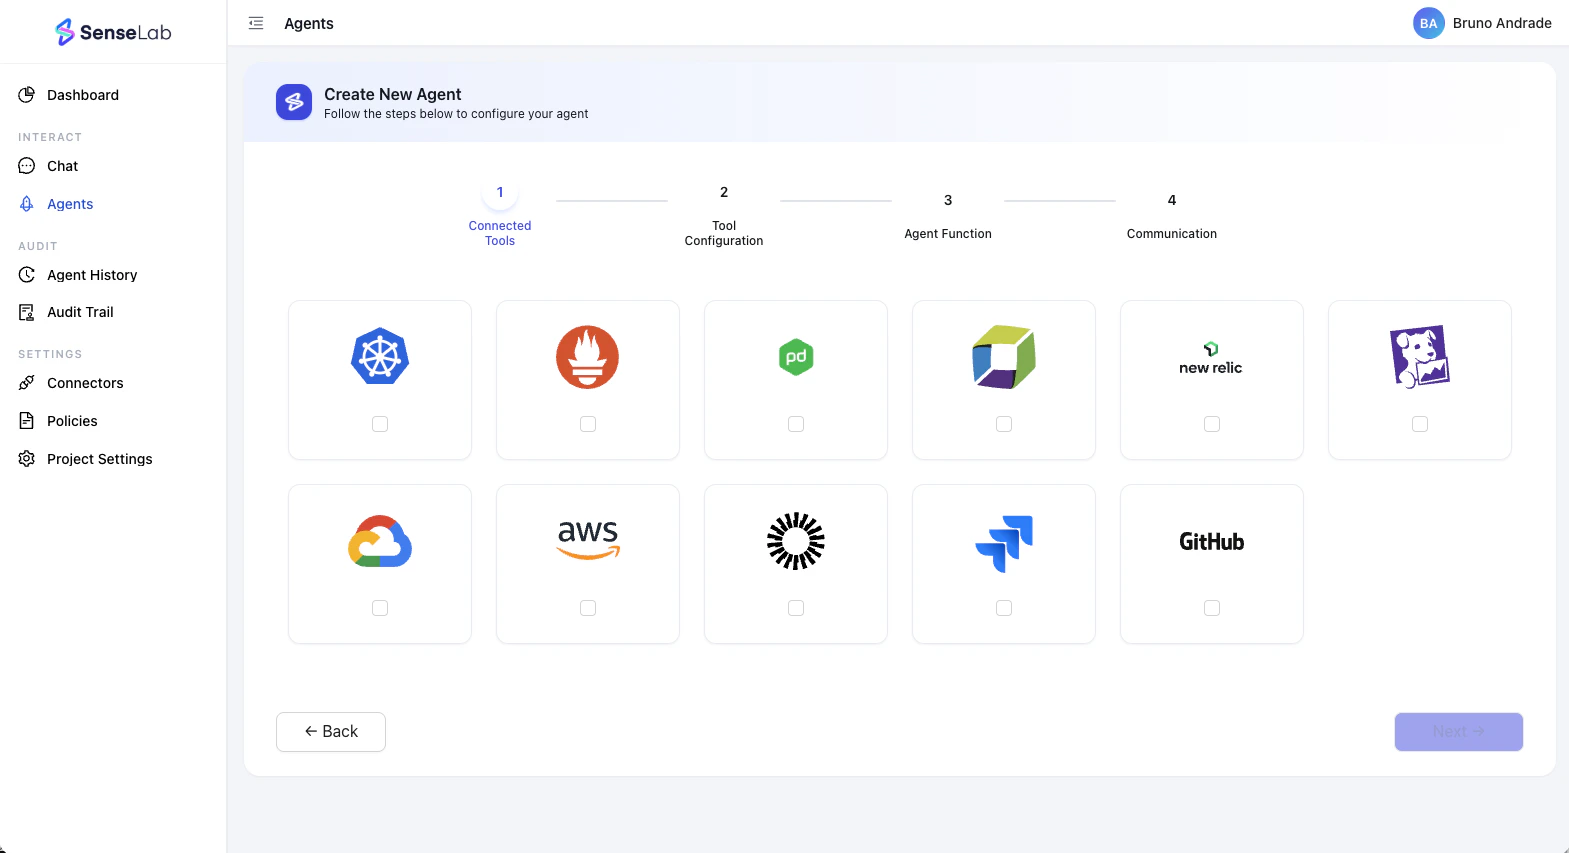
- Go to Agents → New Agent in the dashboard
- Select Release as the agent type
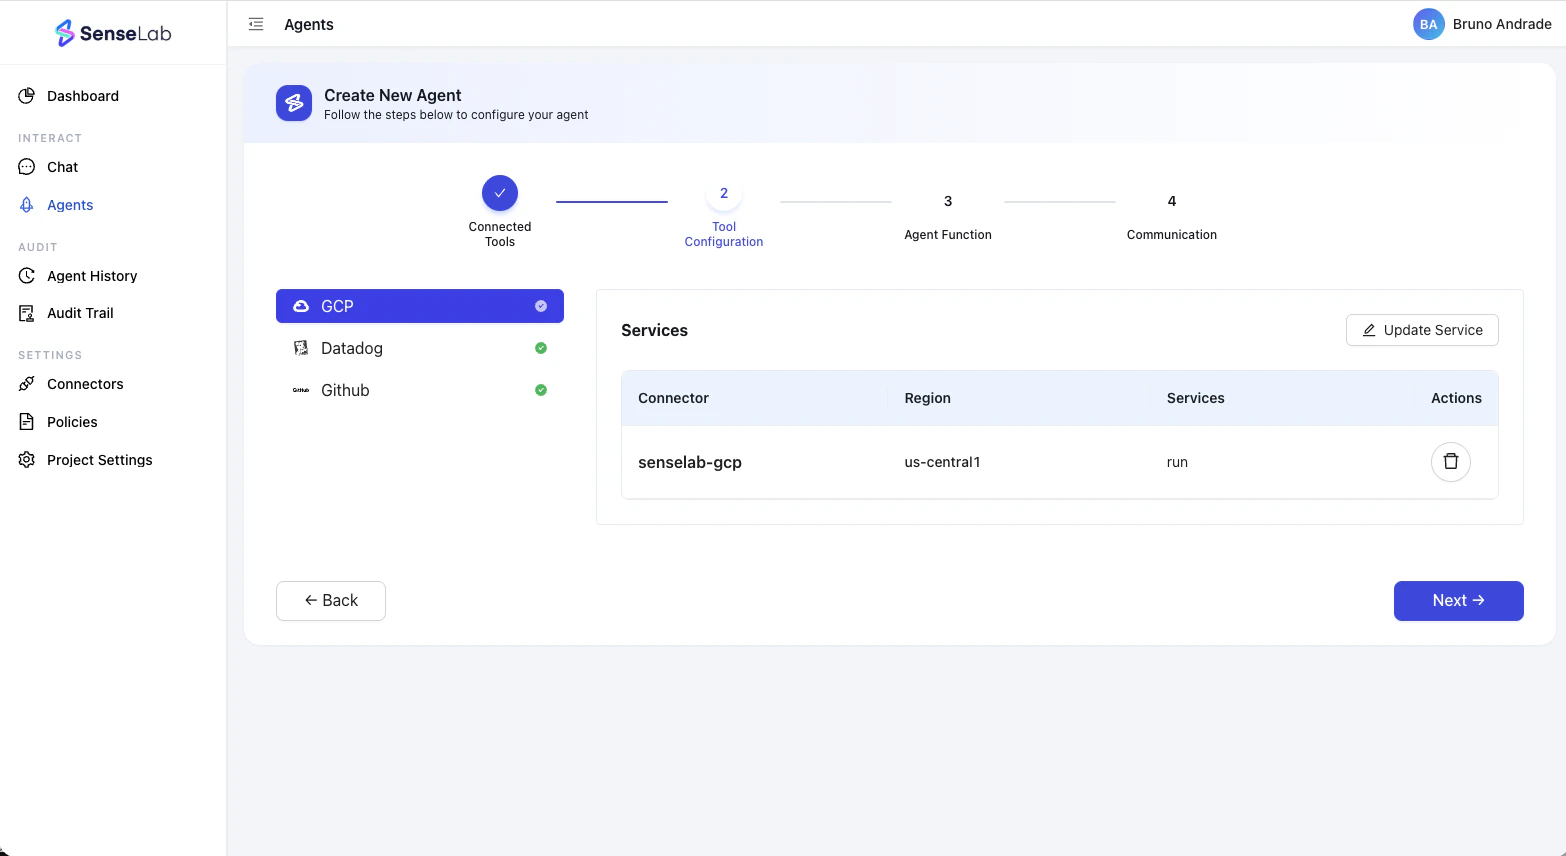
- Choose the repositories and cloud environments to monitor
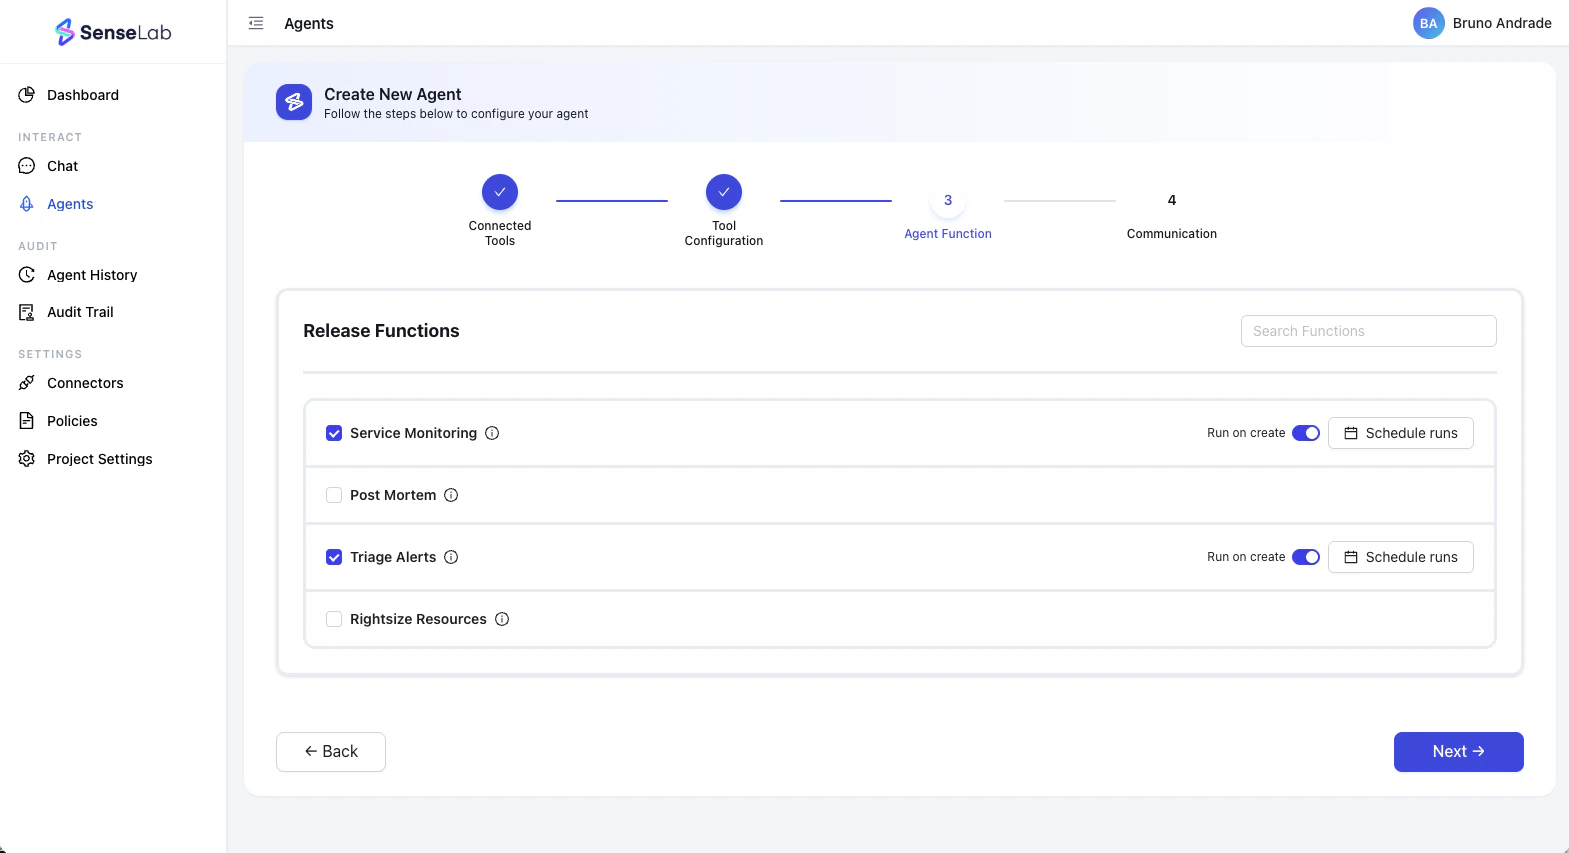
- Select the functions you want your agent to perform
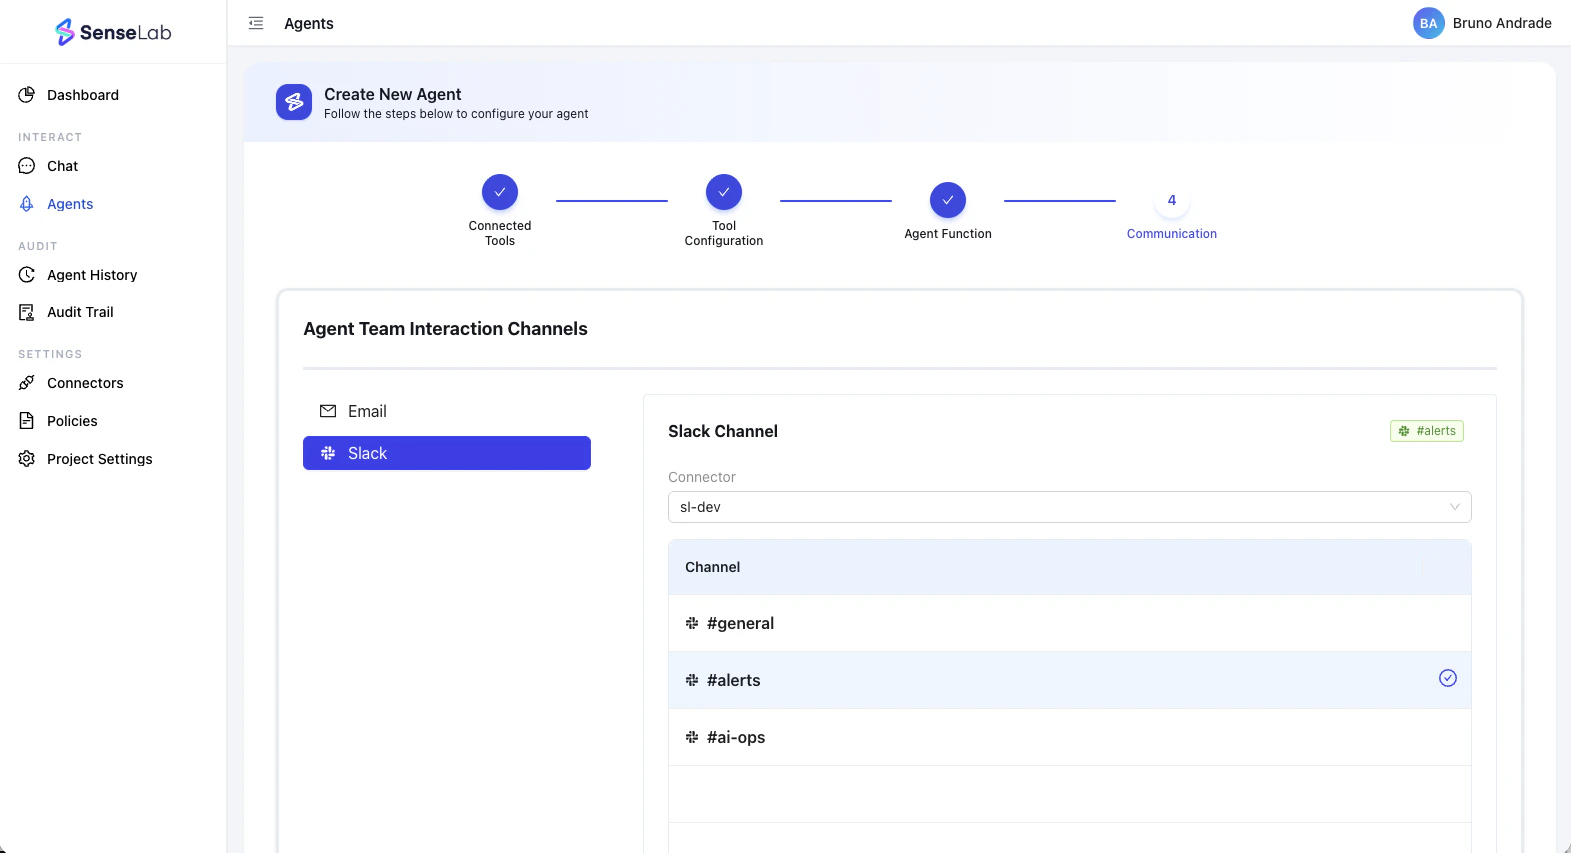
- Select a communication channel where you want your agent to interact with your team

- Click Create Agent — the agent begins executing the selected functions and tracking from your next deployments
Step 5.1 — AIBOM and Evidence Pack
Once your Release agent is running, SenseLab assembles a complete evidence pack at every release — automatically, with no manual work required. The evidence pack spans the full SDLC:| Source | What’s captured |
|---|---|
| Local Dev | AI session, model used, files touched, lines written |
| PR Review | Risk score, AI provenance, dependency scan, AIBOM at review time |
| Build & Artifact | Evidence bound to the specific build artifact |
| Deployment | Deployment record correlated to PRs, commits, and AI sessions |
| Runtime | Health checks, anomalies, production impact events |
| Evidence Pack | Full AIBOM + SBOM export, approval history, audit trail |
- “What shipped in release 3.1.2 and who approved it?”
- “Can you provide an AIBOM for this release?”
- “Which parts of our codebase were generated by AI?”
Learn more about Release
See the full breakdown of what’s included in the Release plan.
You’re set up
AI Lineage
Free. Live AI attribution, team adoption, and model usage.
Review
$29/user/month. Risk-scored, AI-attributed PR review before merge.
Release
$149/month. Full deployment tracking, AIBOM, and evidence packs.
Need help getting set up? Join our Discord — the team is active and happy to walk you through it.